
Disclosure: This post may contain affiliate links, meaning if you decide to make a purchase via my links, I may earn a commission at no additional cost to you.
Create a front yard to enjoy without the mowing
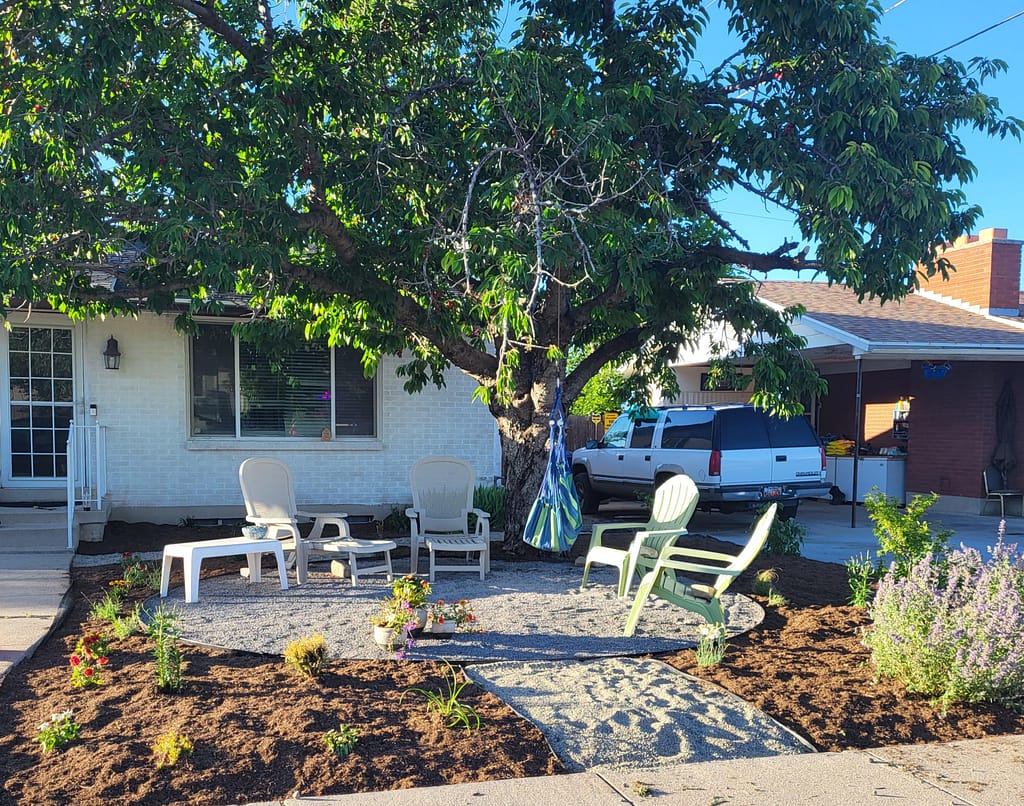
I created an elegant, functional, and visually pleasing sitting area in my front yard with native plants, without the high-maintenance grass. I needed a low-maintenance front yard so it stays looking nice all season long,
Landscape Grass Removal
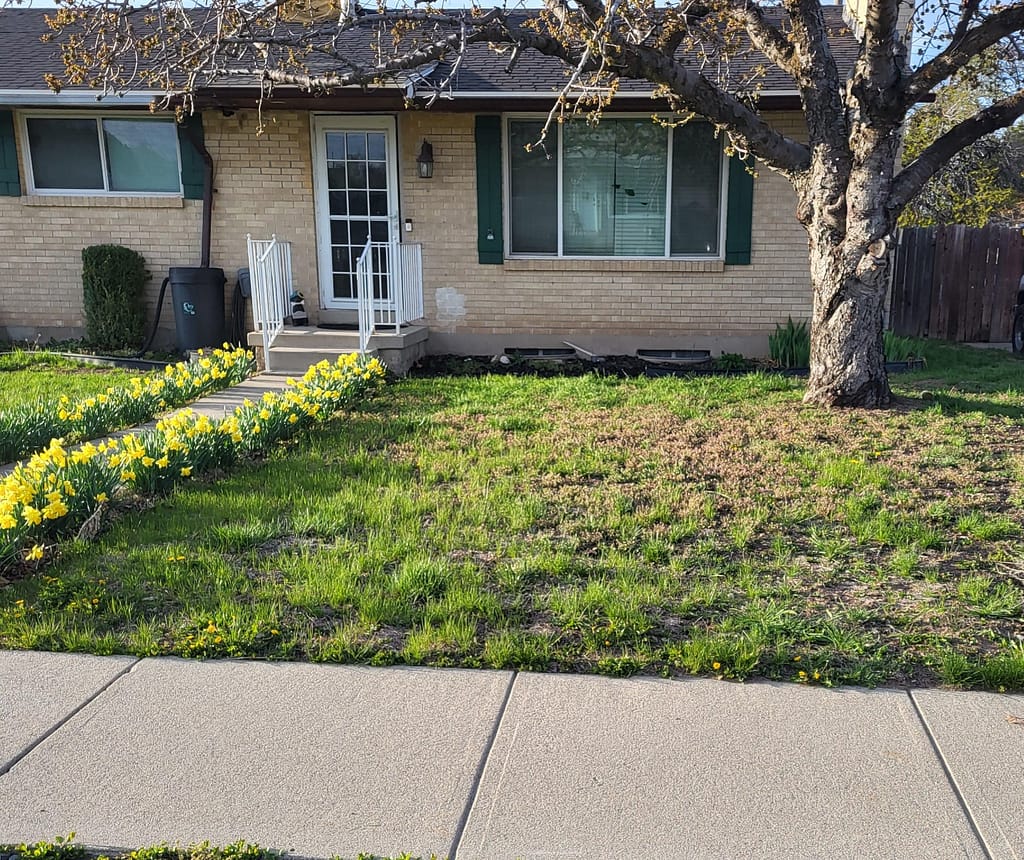
Hey everyone, I want to share this project I did and how pleased I am with how it turned out. I also get so many compliments from neighbors and people who stop by. Let me start by saying that I live on a corner lot, so I have more yard than most, and one thing I’m really not a fan of is mowing the lawn. You fertilize it (which costs money), water it (more money), and then mow it, which takes time and effort. Why? I decided to tackle my yard in small increments.
I have a section of my front yard that is separated from the rest by the front walkway. I took out all the grass from this area and added local waterwise plants, a seating area, and a walkway leading to the back fence. I will share my before-and-after pictures—this project was so much fun!
First- Grass Removal
The first step was to remove all the grass, which was a daunting task, to say the least. My helpful partner informed me that I need to rent a sod cutter. That’s a cost for me that is worth it! We were able to cut out all the grass in just a couple of hours—something that would have taken weeks if done by hand. After cutting the sod, you need to roll it up and either repurpose it or send it to the dump. I don’t like throwing things away, so I posted an ad for free sod, and people came to pick it up. Win-win!
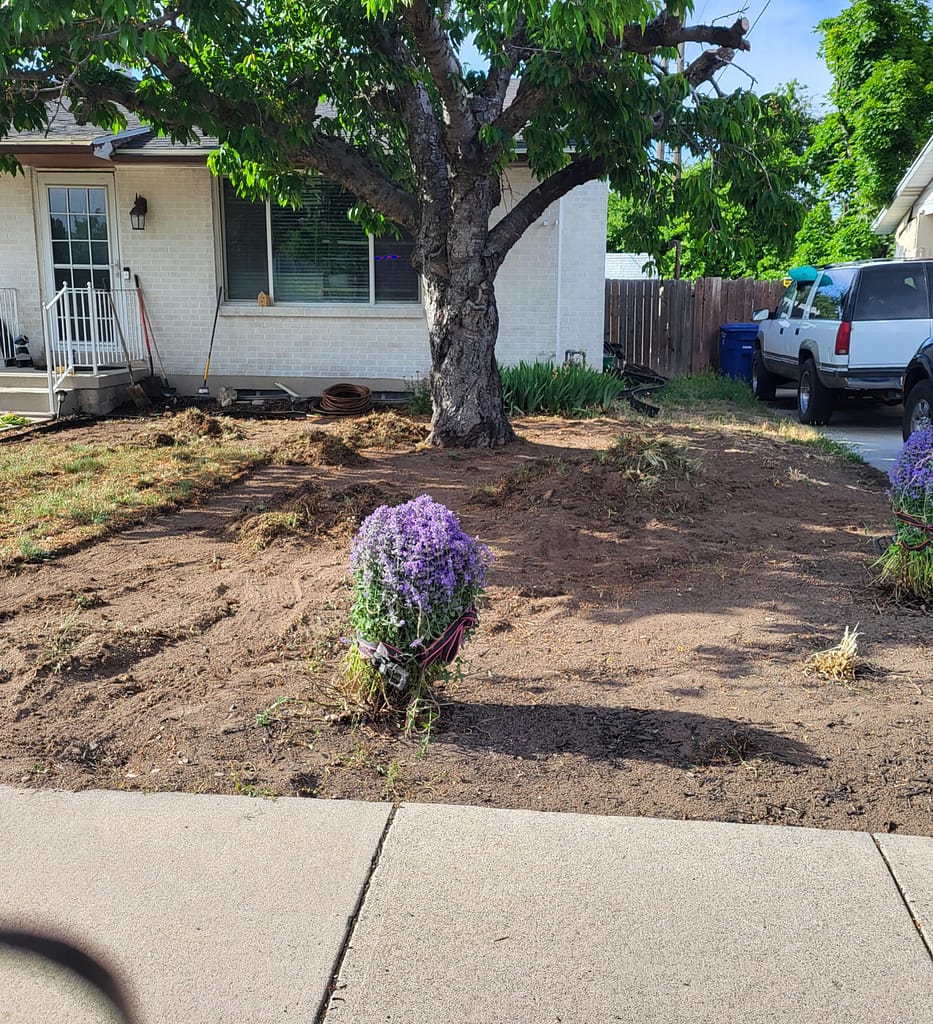
Drip Irrigation Install
Once all the grass had been removed, I installed drip irrigation, which is better for the plants than overhead sprinklers. This also saves so much water and money on your water bill. Since I had already installed a sprinkler system a few years ago, all I needed to do was purchase a Rainbird Conversion Kit and run the drip tubing around any plants I planned to plant (or existing ones). As you can see in the picture with the grass removed, I kept the tree and two catmint plants, which are waterwise and good for attracting butterflies and bees.
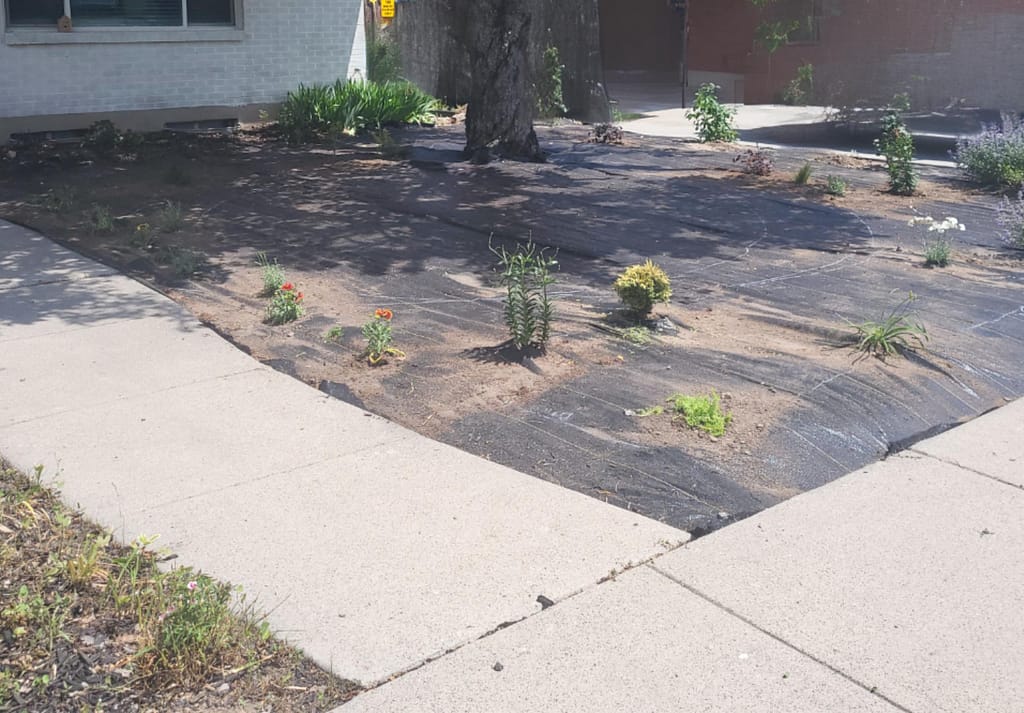
Landscape Fabric
The next step was to install landscape fabric to help prohibit weeds. I have to say, it has worked better than I expected. I bought the more expensive kind from my local farm equipment supplier—I’m all about saving money, but it’s not worth it if the product doesn’t work.
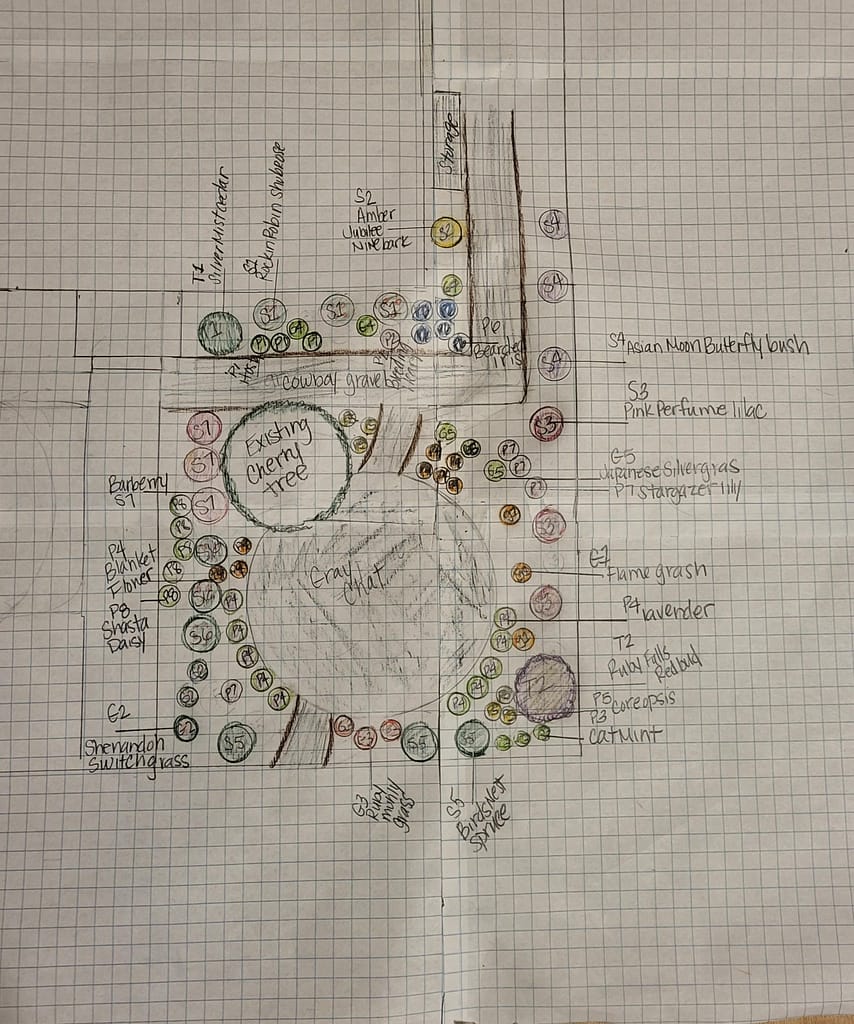
Planting
After the landscape fabric was installed, I planted my plants. I chose mostly waterwise plants and a variety of flowers, bushes, and perennial grasses in both deciduous and evergreen varieties to create year-round visual interest. I wanted bushes that would grow tall to act as a windbreak and privacy hedge, so I went with lilacs for their beautiful color and wonderful scent. I also planted lavender around the seating area for its amazing fragrance.
Landscape Edging
The next step was to purchase metal landscape edging. I used this to delineate the seating area and for the gravel walkway leading around to the back of the house. I then bought pathway chat and pea gravel. I used the pathway chat for the flat seating area and the pea gravel for the walkways. I found a local company where I could buy it by the cubic yard, so we went and picked it up. We were able to borrow a dump trailer, which saved us quite a bit of money. The pathway chat is so heavy—it’s unbelievable! It packs down easily and makes a solid, flat surface.
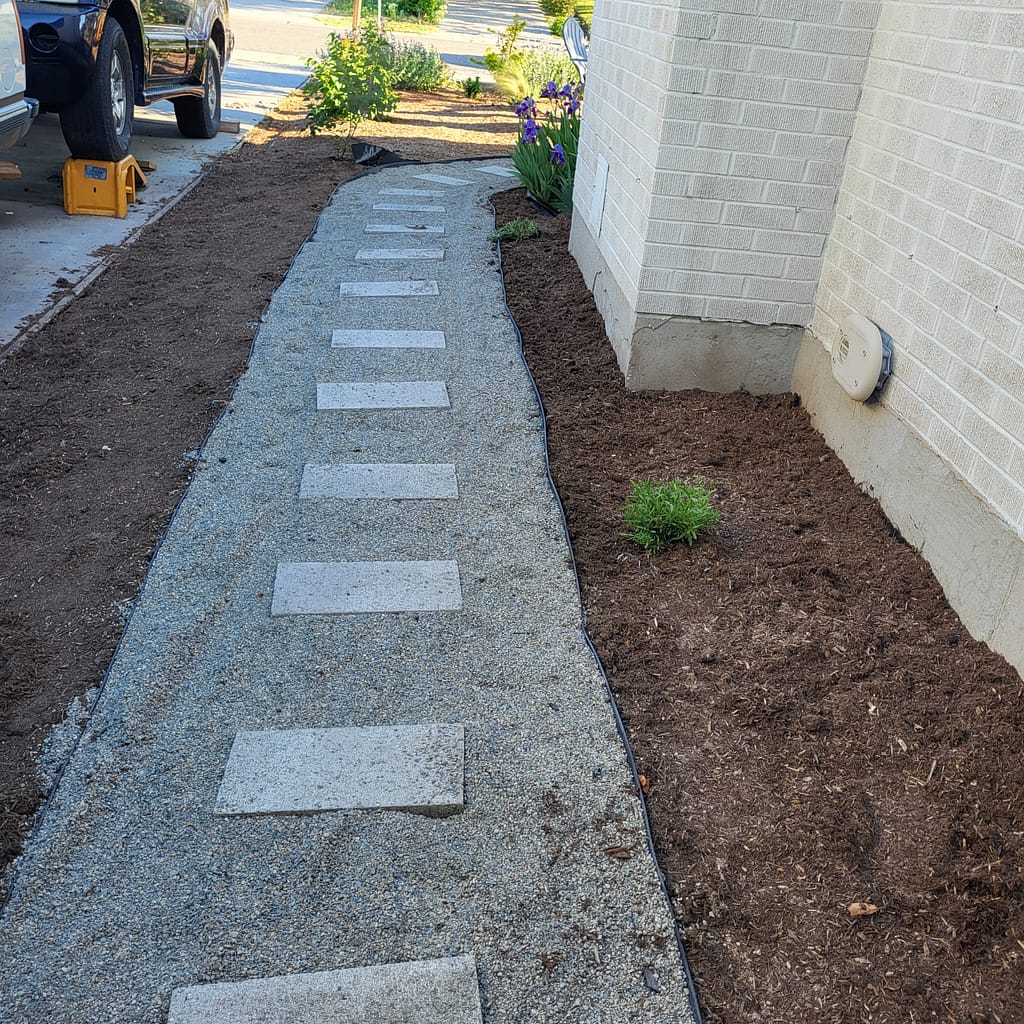
Mulch
My final step was to purchase mulch and place stepping stones along the gravel path. I ordered 10 yards of mulch and had it delivered. Honestly, I think I could’ve mulched the entire block for as much as they dropped off, but it was still cheaper than buying bags at the store.
After it was all done I am really enjoying watching the plants grow and fill in. I also had to buy some front yard seating a side table and a couple cute pots. My daughter loves the chair swing too.

Leave a Reply